


Premium Refrigerator Lock with Built-in Keyed Lock
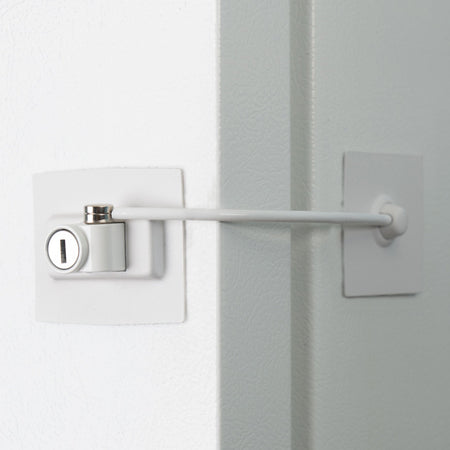
Our versatile premium refrigerator lock features the convenience of a built-in keyed lock, perfect for securing refrigerators, coolers, tool chests, and more. Easy installation, no drilling needed! Available in white or black.
Use to:
- Secure prescription medication
- To help hospitals, medical facilities, and research labs protect their medicines and samples
- Use on any door or cabinet to help comply with HIPAA and other privacy regulations.
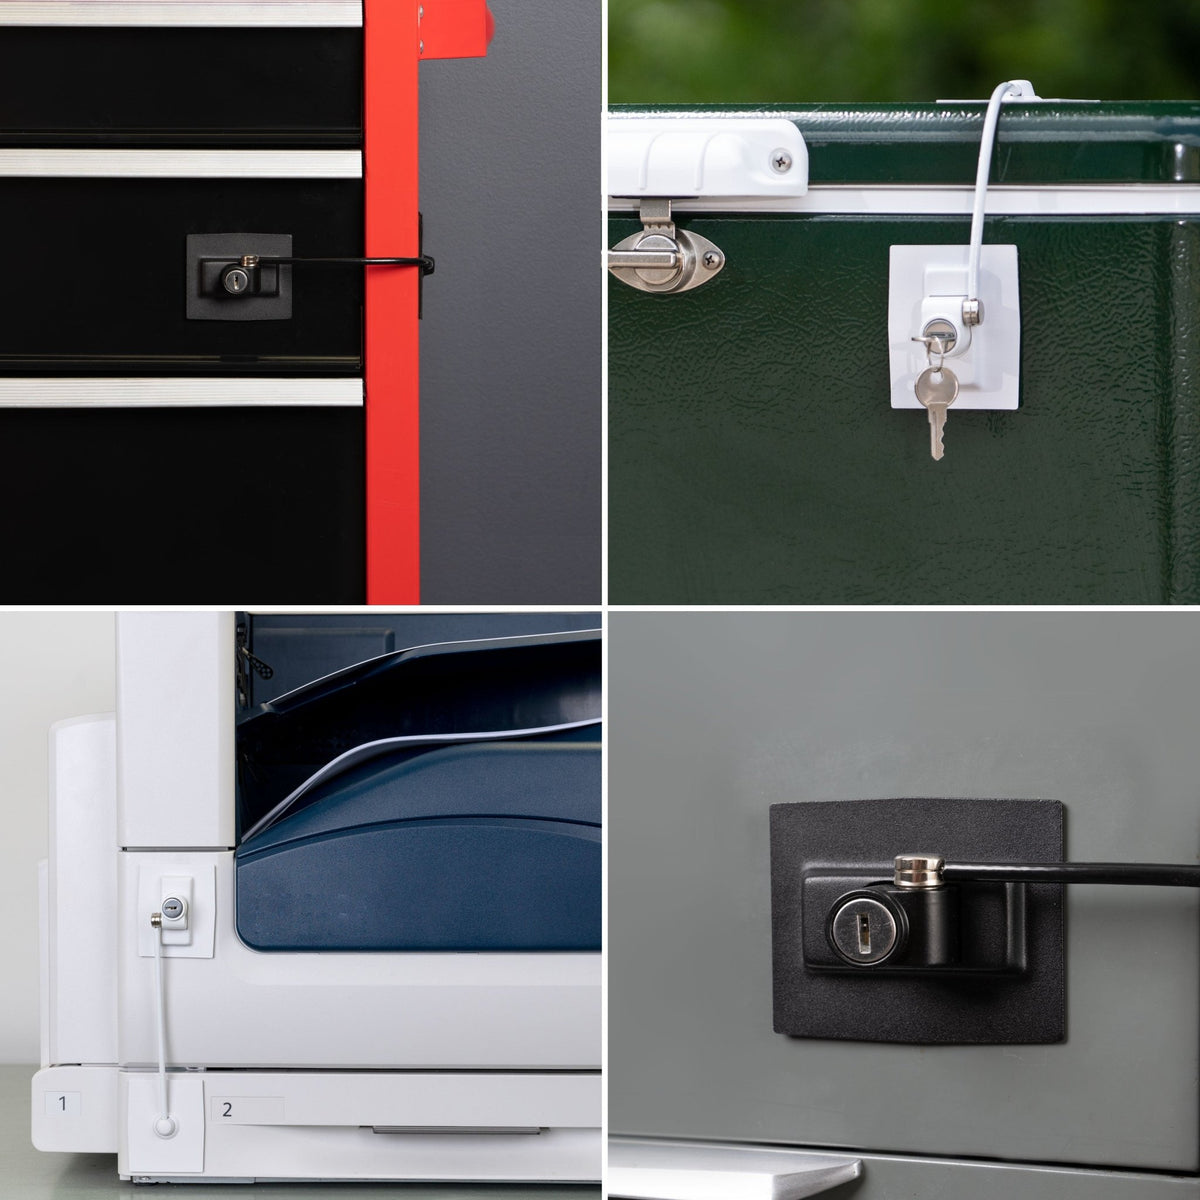
They can also be used....
- On printers to secure the paper tray.
- On file cabinets to secure just one drawer.
- To keep medical prescription cabinets locked.
- To keep kids out of liquor/beer cabinets or small fridges.
- On toolboxes to keep those expensive tools where they belong.
- As a double layer of security on a safe or lock box.
- And much more.....
This lock provides a secure way to safeguard your refrigerator contents. Once properly installed, the locking plates are permanent, so make sure to follow the instructions carefully.
Much more than just a child proof lock! Strong enough to withstand situations from infant to adult...and pets too; Uses the strongest and most reliable 3M VHB tape available. It can be used on refrigerator or freezer doors, medicine cabinets, tool chests, printer trays, single file cabinet drawers, and many other openable fixtures. Not compatible with painted or laminated wood or drywall. This product can help meet HIPAA and other privacy regulations.
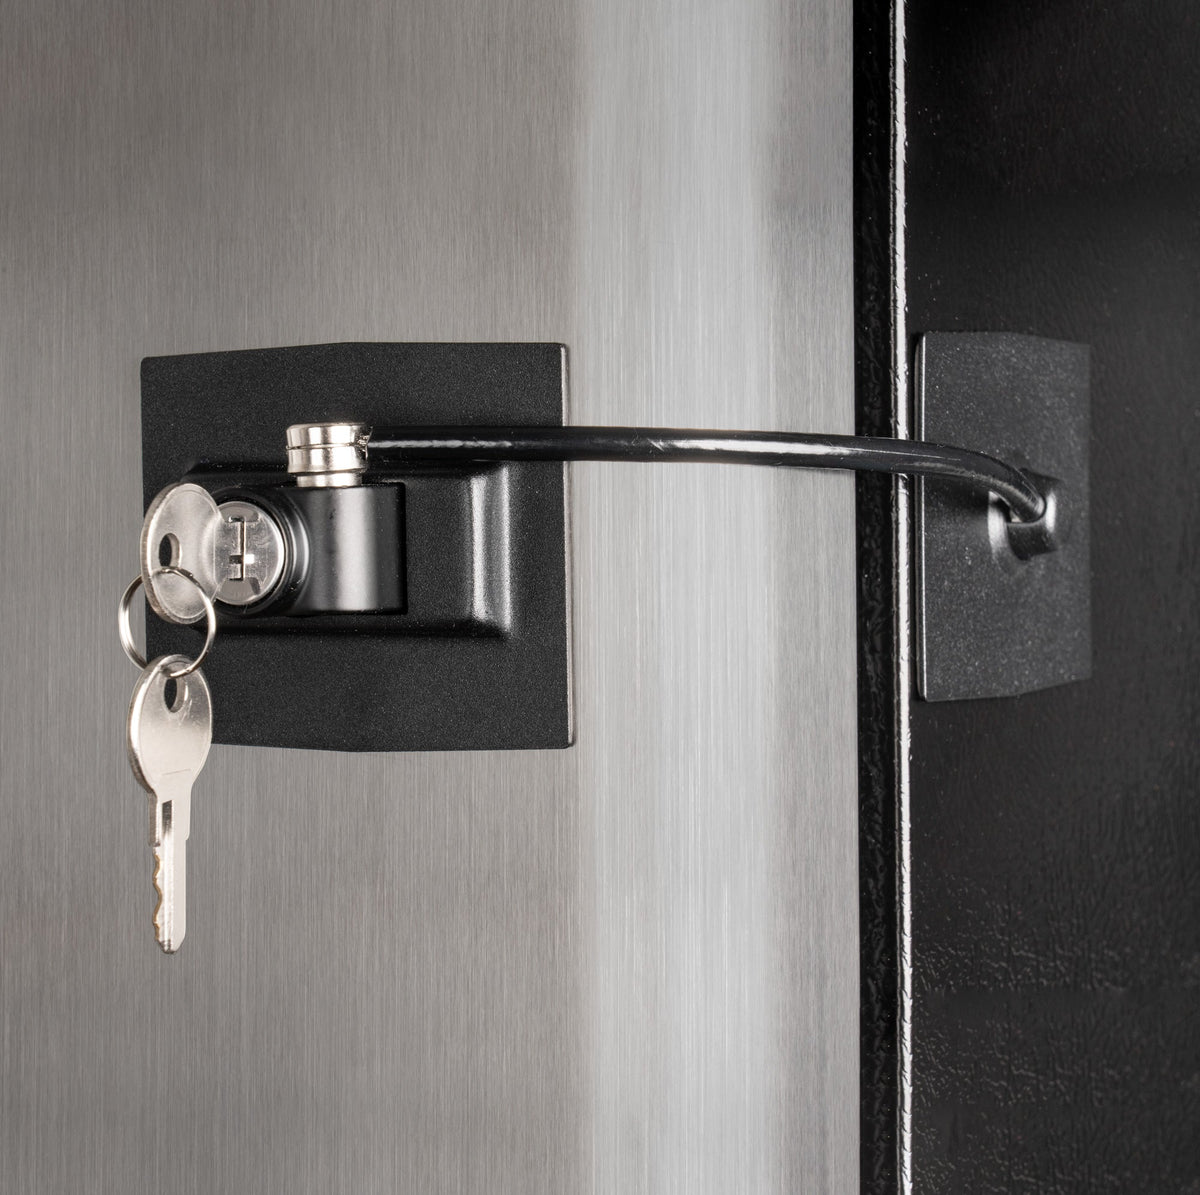
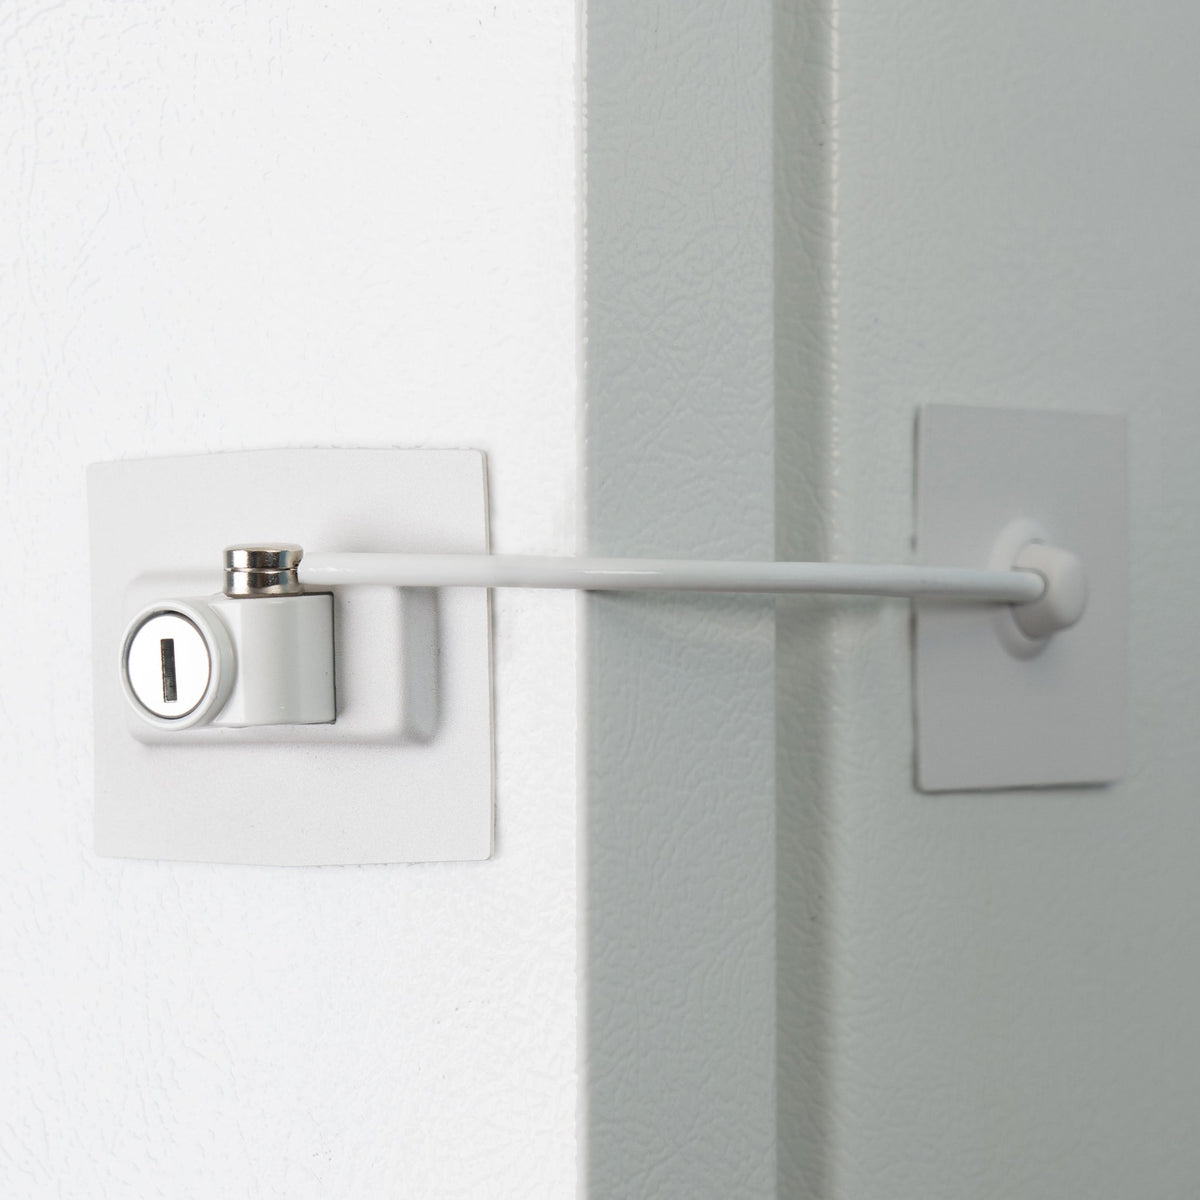
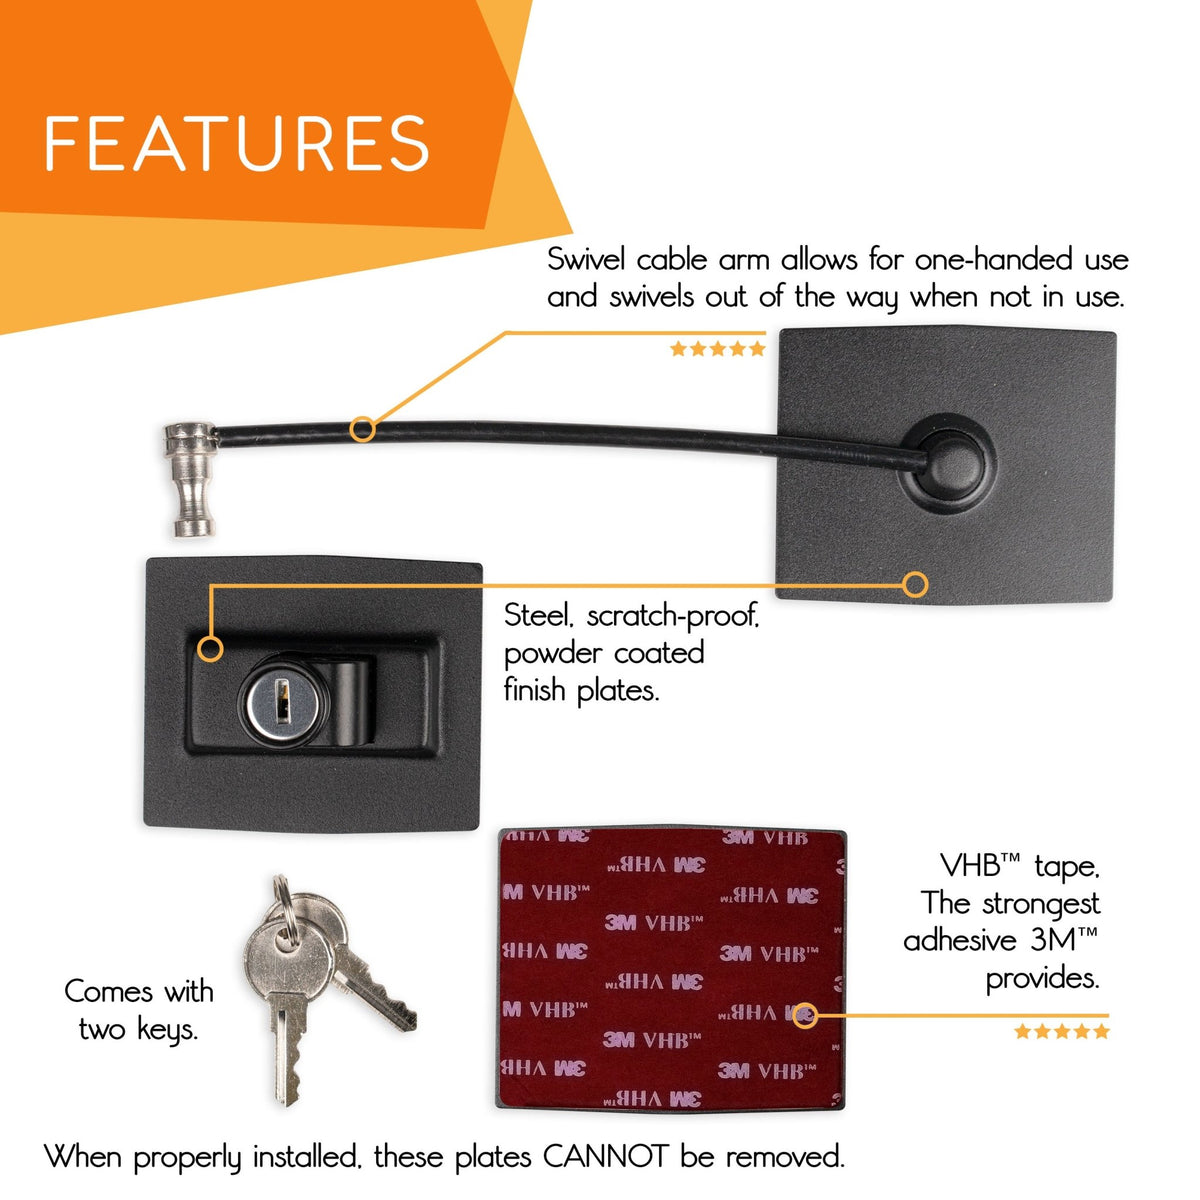
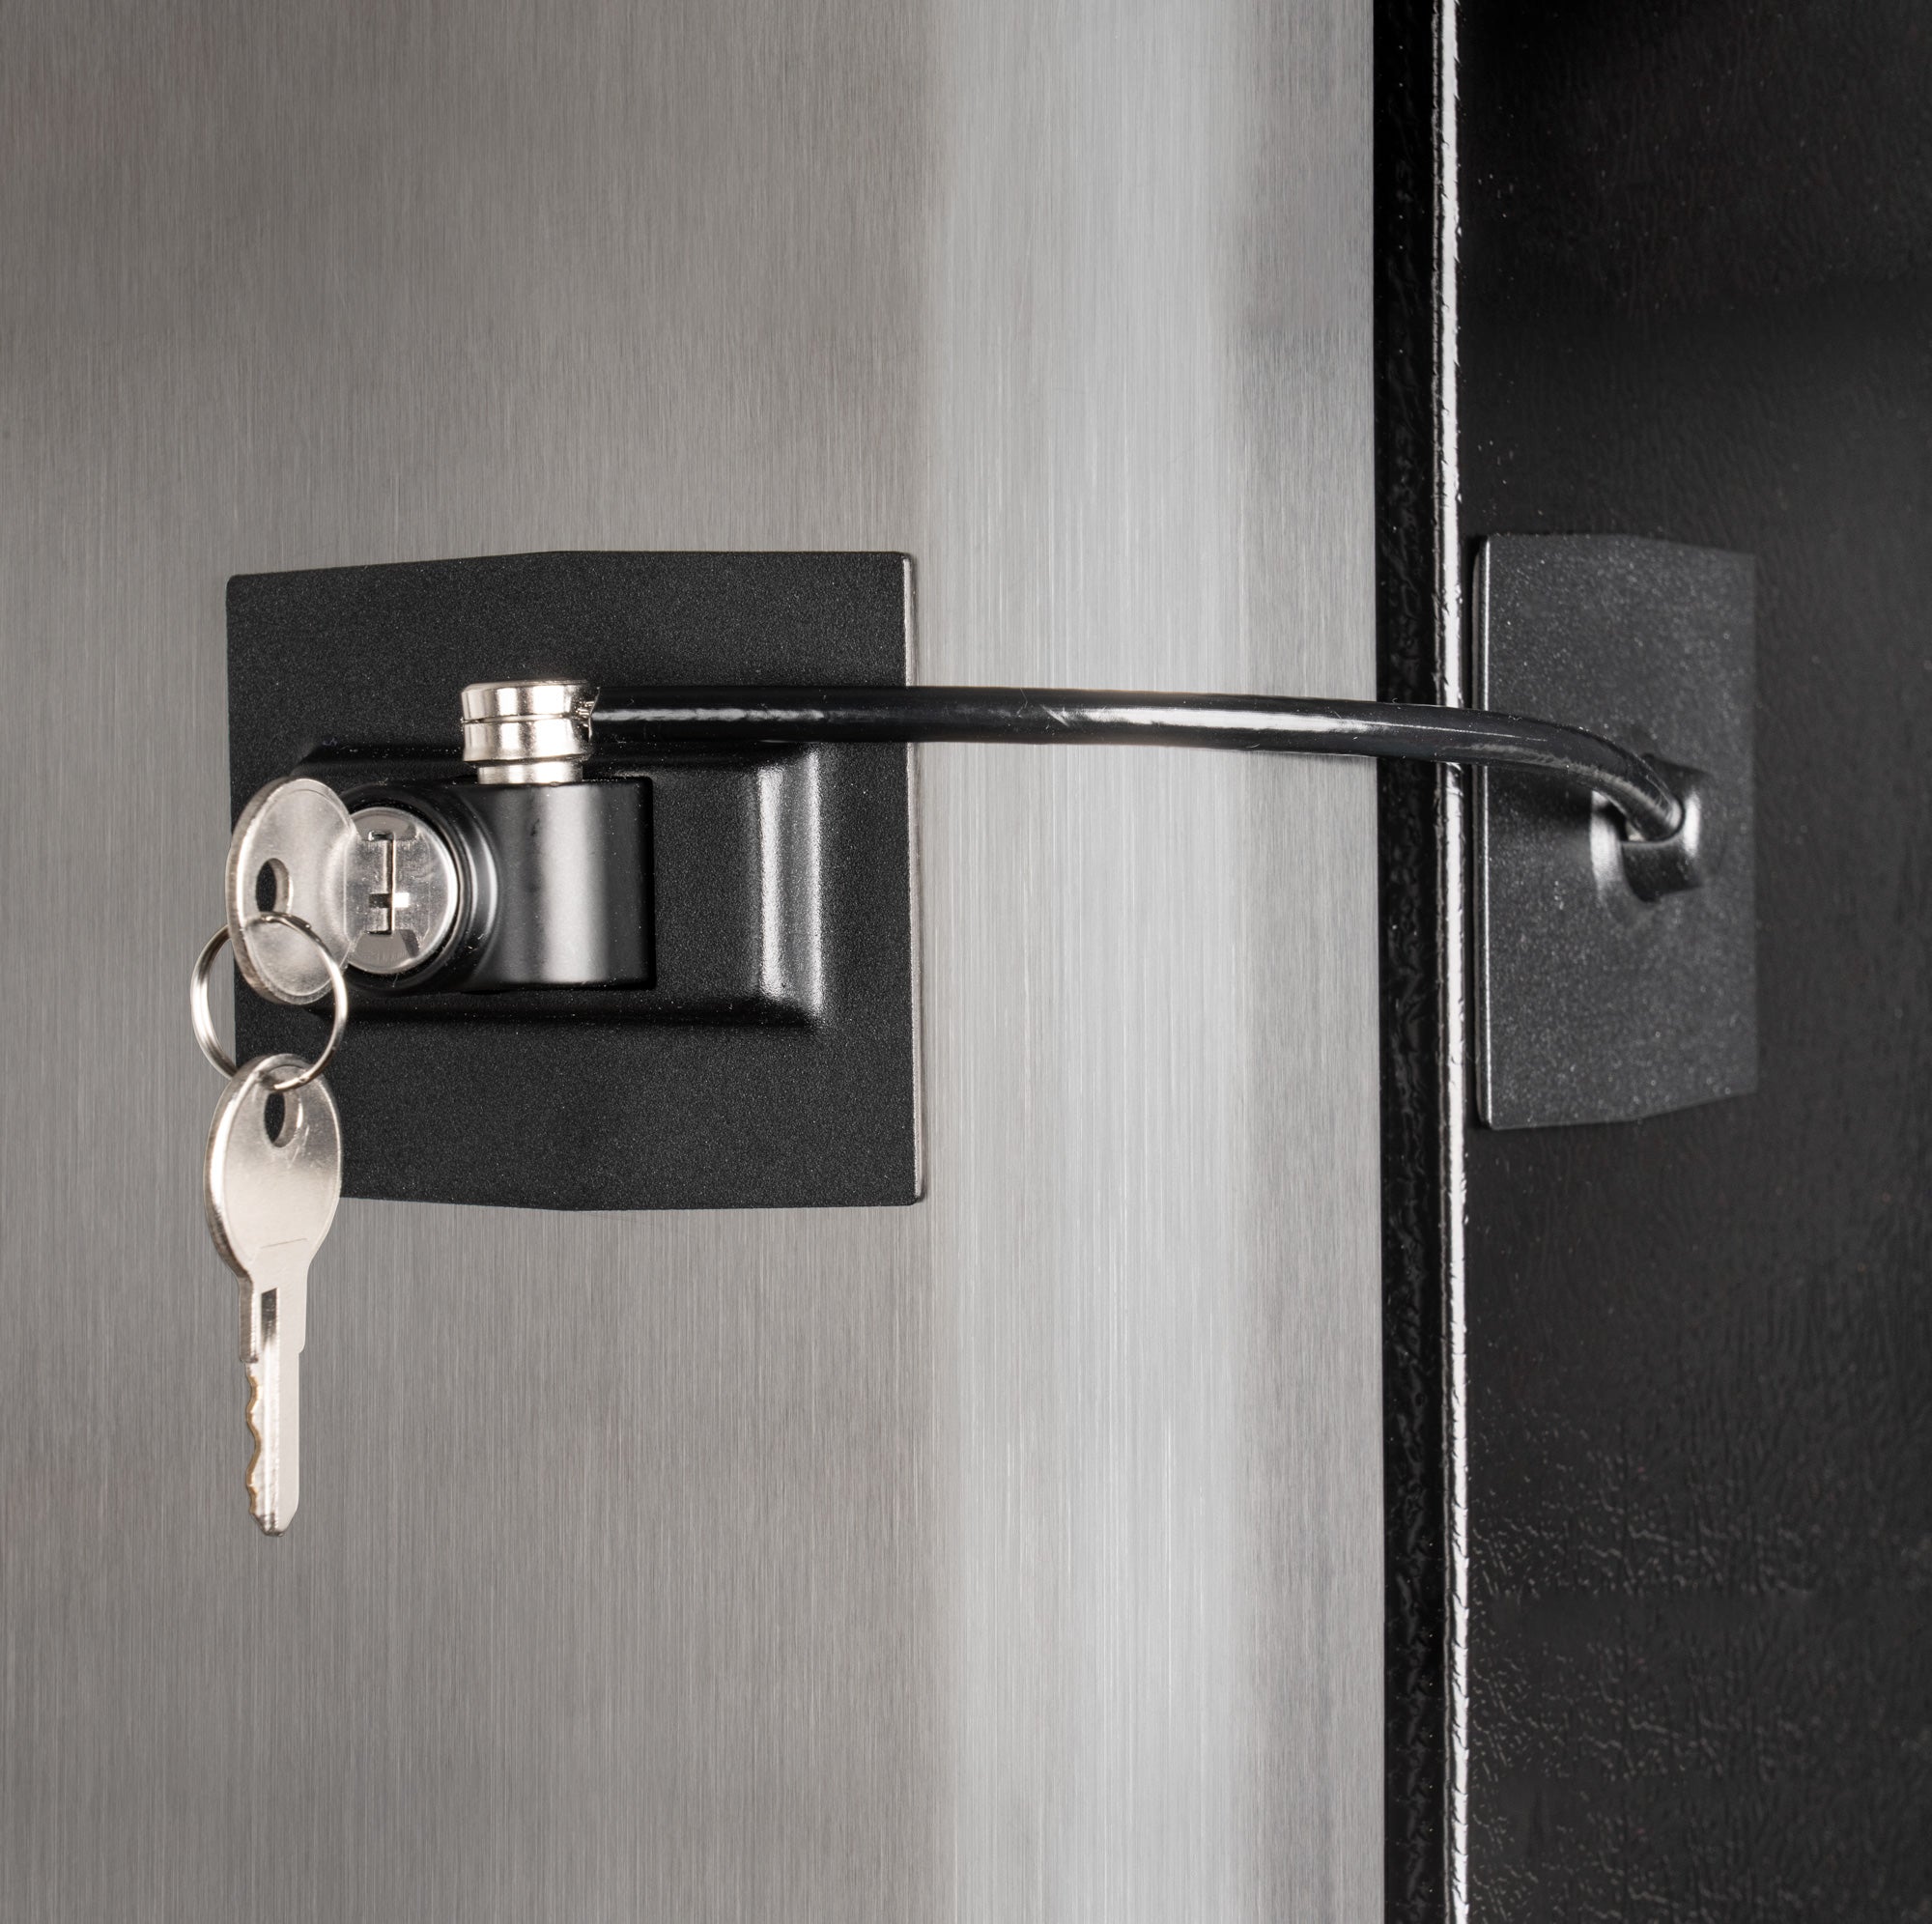
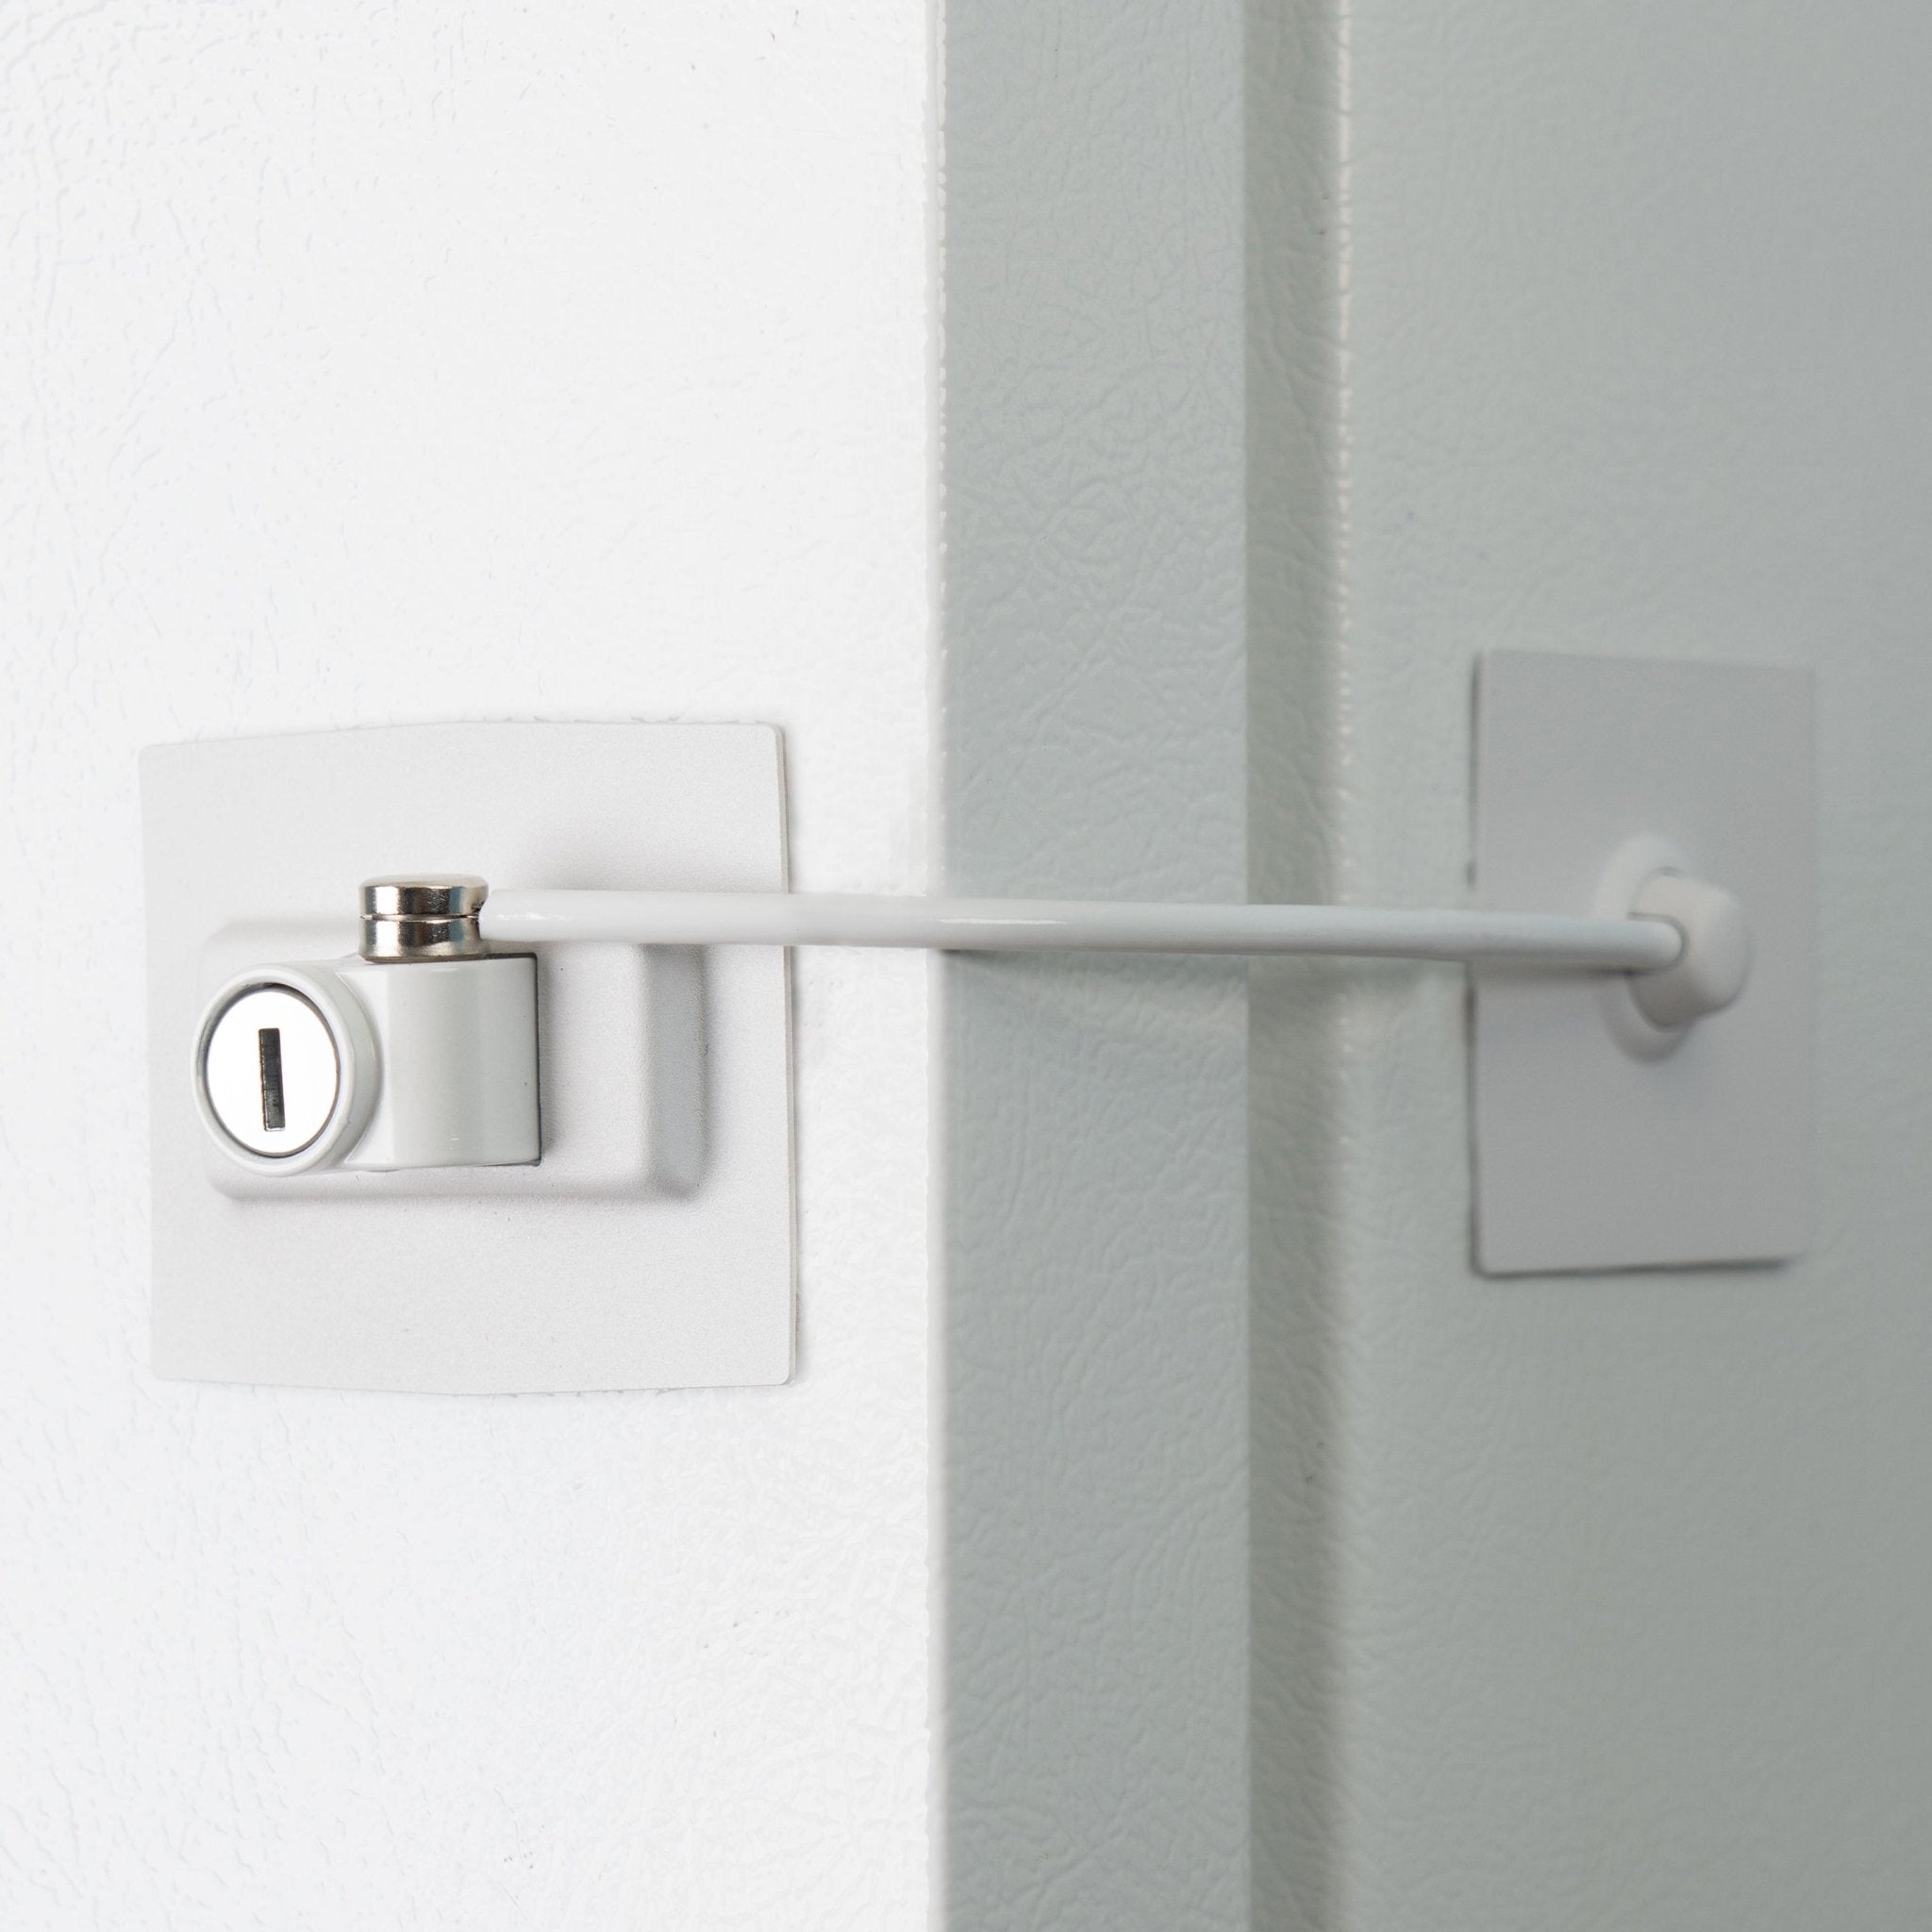
Keep your items safe—whether it’s medicine, alcohol, or even your lunch—with this high-quality keyed lock. The scratch-resistant powder-coated steel plates and vinyl-coated aircraft cable provide strength and durability.
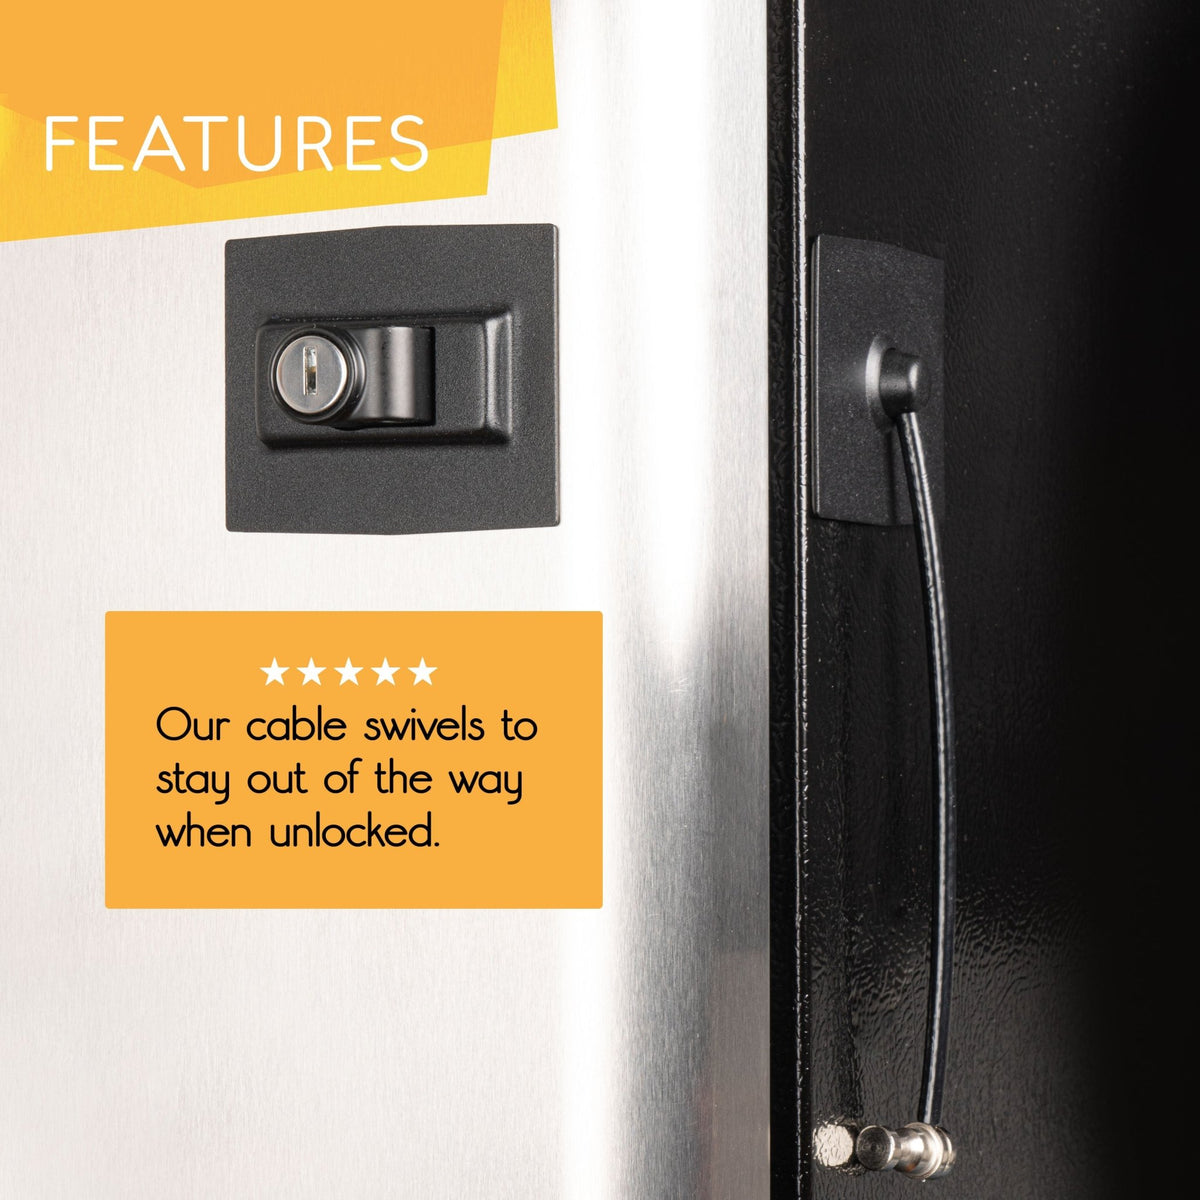
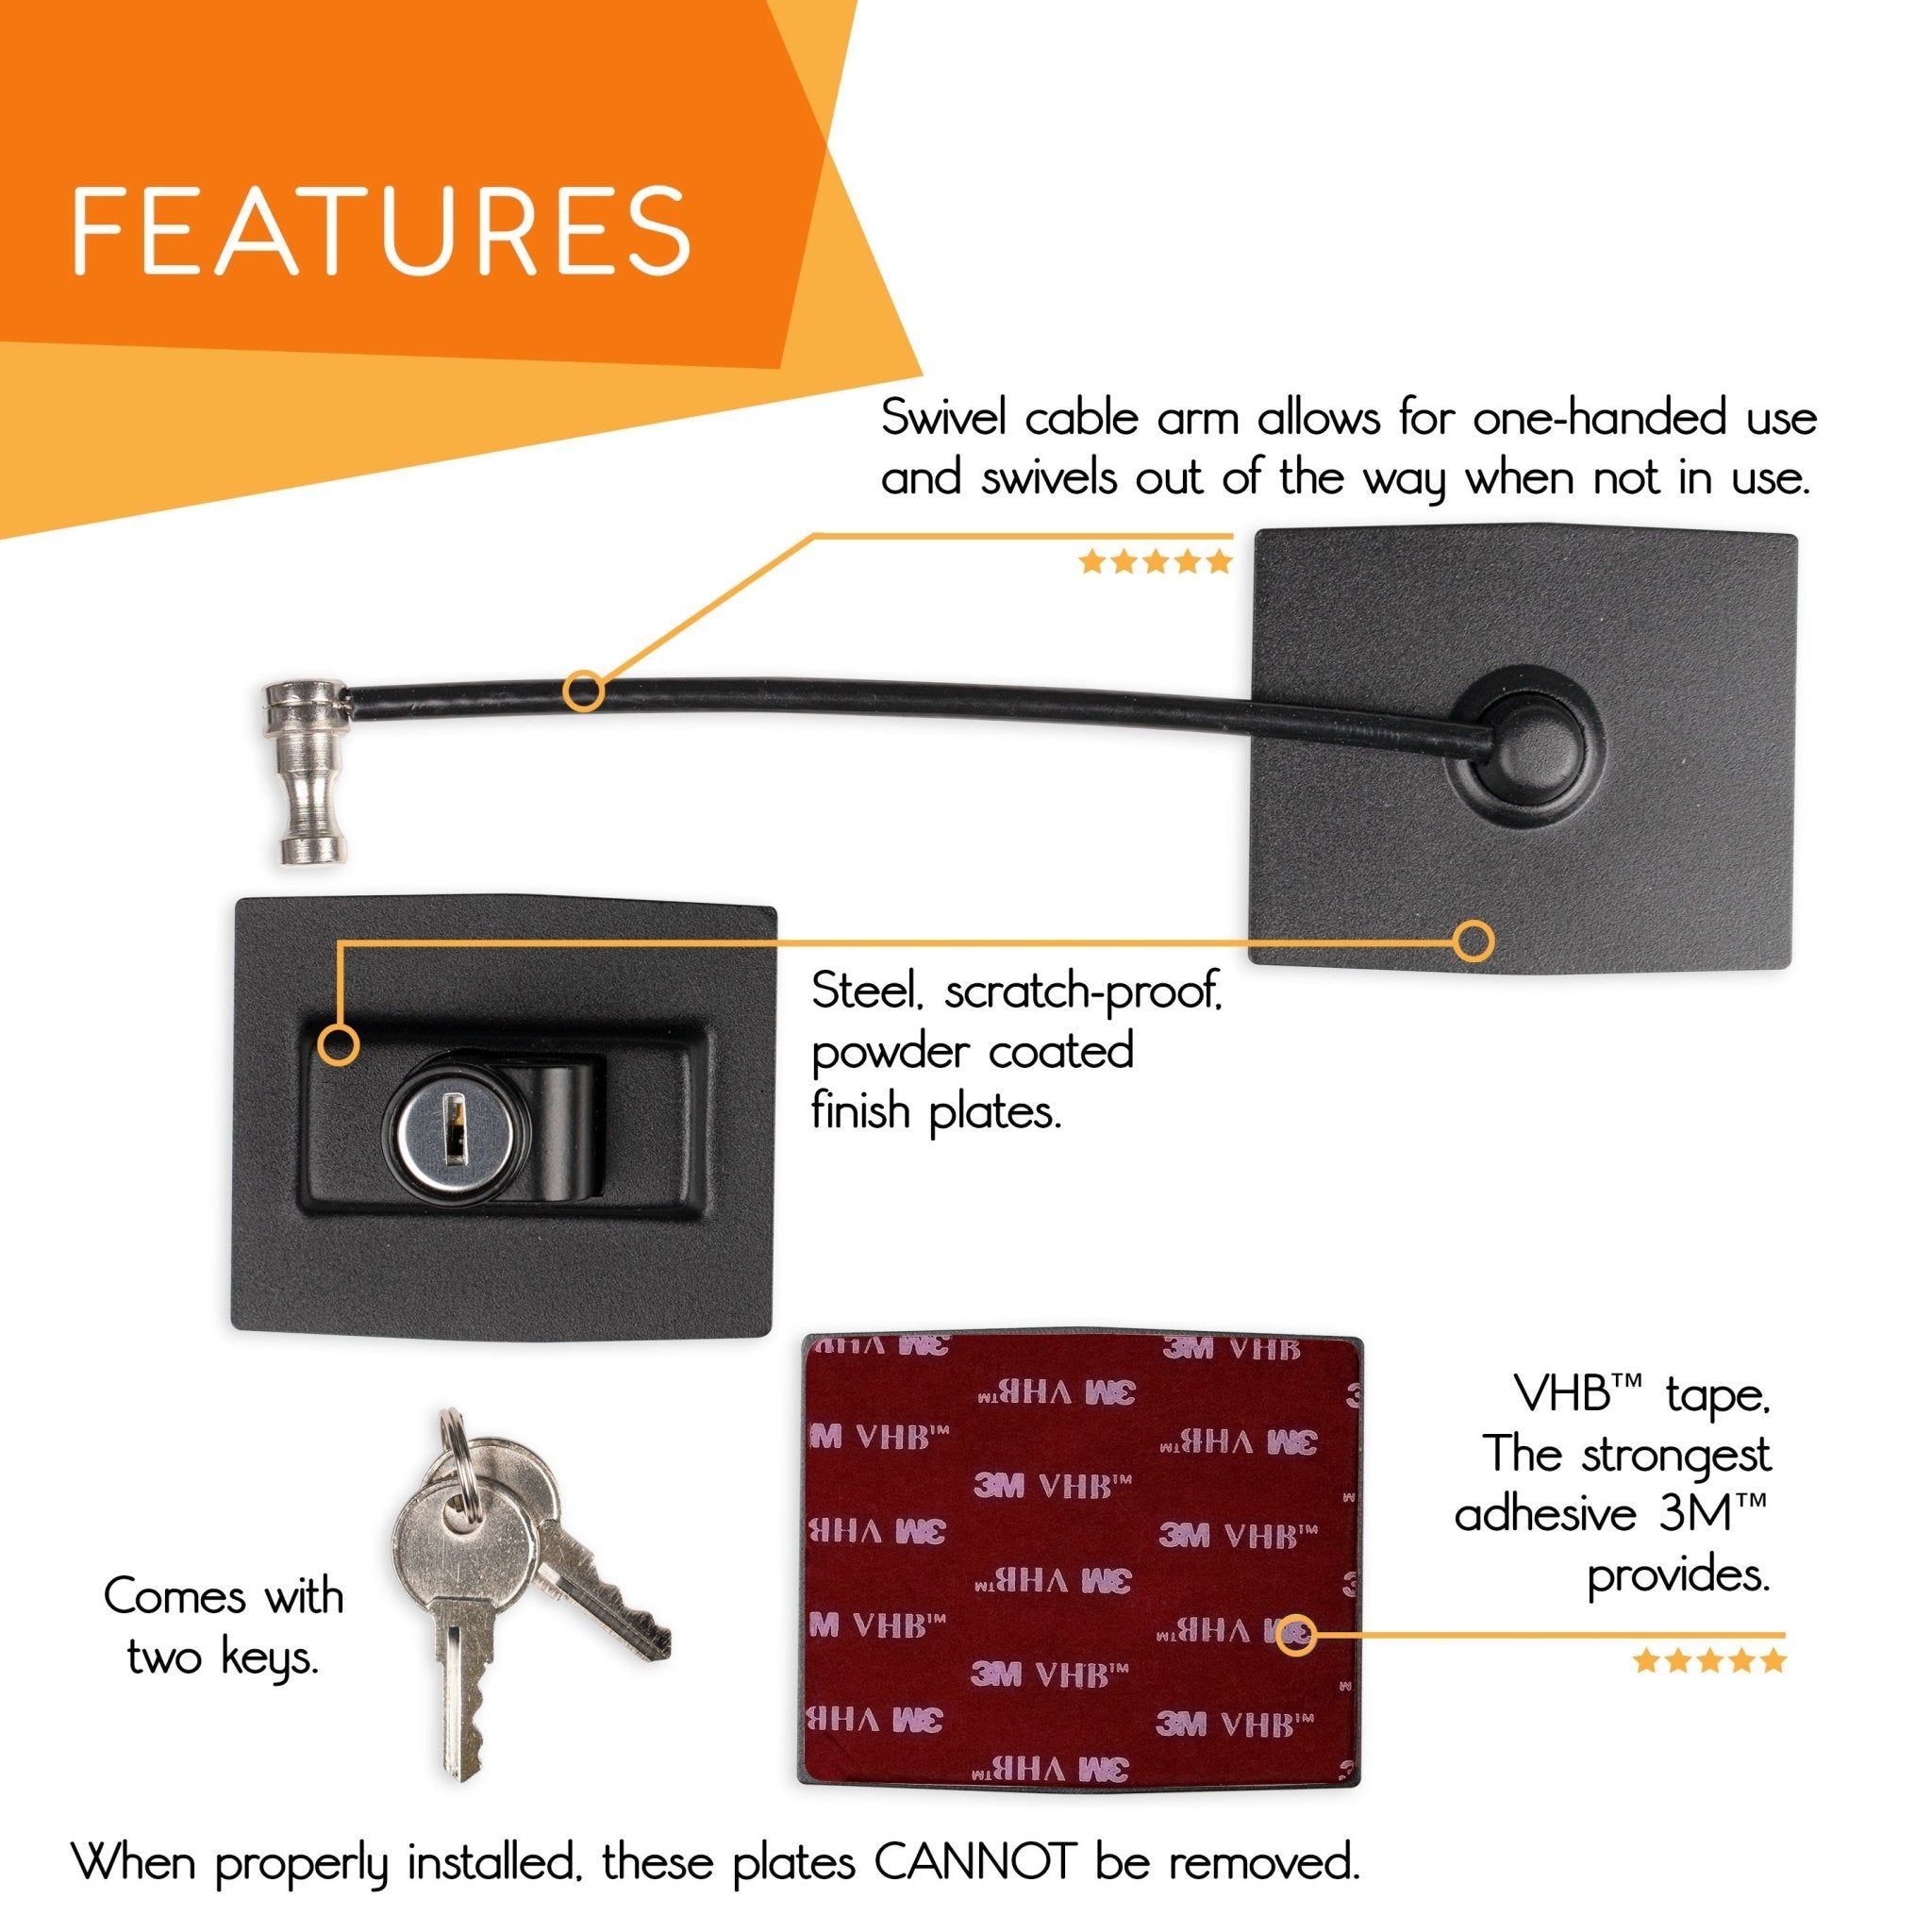
The cable easily swivels aside when not in use, eliminating the hassle of cables getting in the way when unlocked. Plus, with one-handed operation, you can effortlessly open and close the lock using just the key, thanks to its built-in locking mechanism.
These refrigerator locks are a permanent installation. Once adhered, they CANNOT be removed.
REF-203 Premium Refrigerator Lock:
- Two adhesive plates measuring 2.5” x 3”.
- One plate includes a built-in lock, the other plate includes a 9.1” long swivel aircraft cable.
- The lock kit from end to end measures 11.75” long.
- Once installed, the thickest part of the lock measures 1.25”.
- Available in your choice of white or black.
NOTE: These plates cannot be adhered to painted or laminated wood or drywall.
NOTE: When properly installed, the refrigerator lock plates are permanent and cannot be removed.
Make sure the surface you are applying to is cleaned, rinsed, and dried. There shouldn’t be any residue of cleaning agent remaining. Be sure to wipe dry, DO NOT air dry.
The ideal temperature range for application is 70°F to 100°F (21°C to 38°C).
Absolute minimum suggested application temperature is 60°F (15°C).
If initial application is below these minimums, the adhesive becomes too firm to adhere rapidly and may not stick. However, one properly applied, low temperature holding is generally satisfactory.
These plates cannot be adhered to painted or laminated wood or drywall.
Step 1. Locate a suitable & accessible clean flat surface.
- Practice where you want the unit while the lock is engaged before removing any backings.
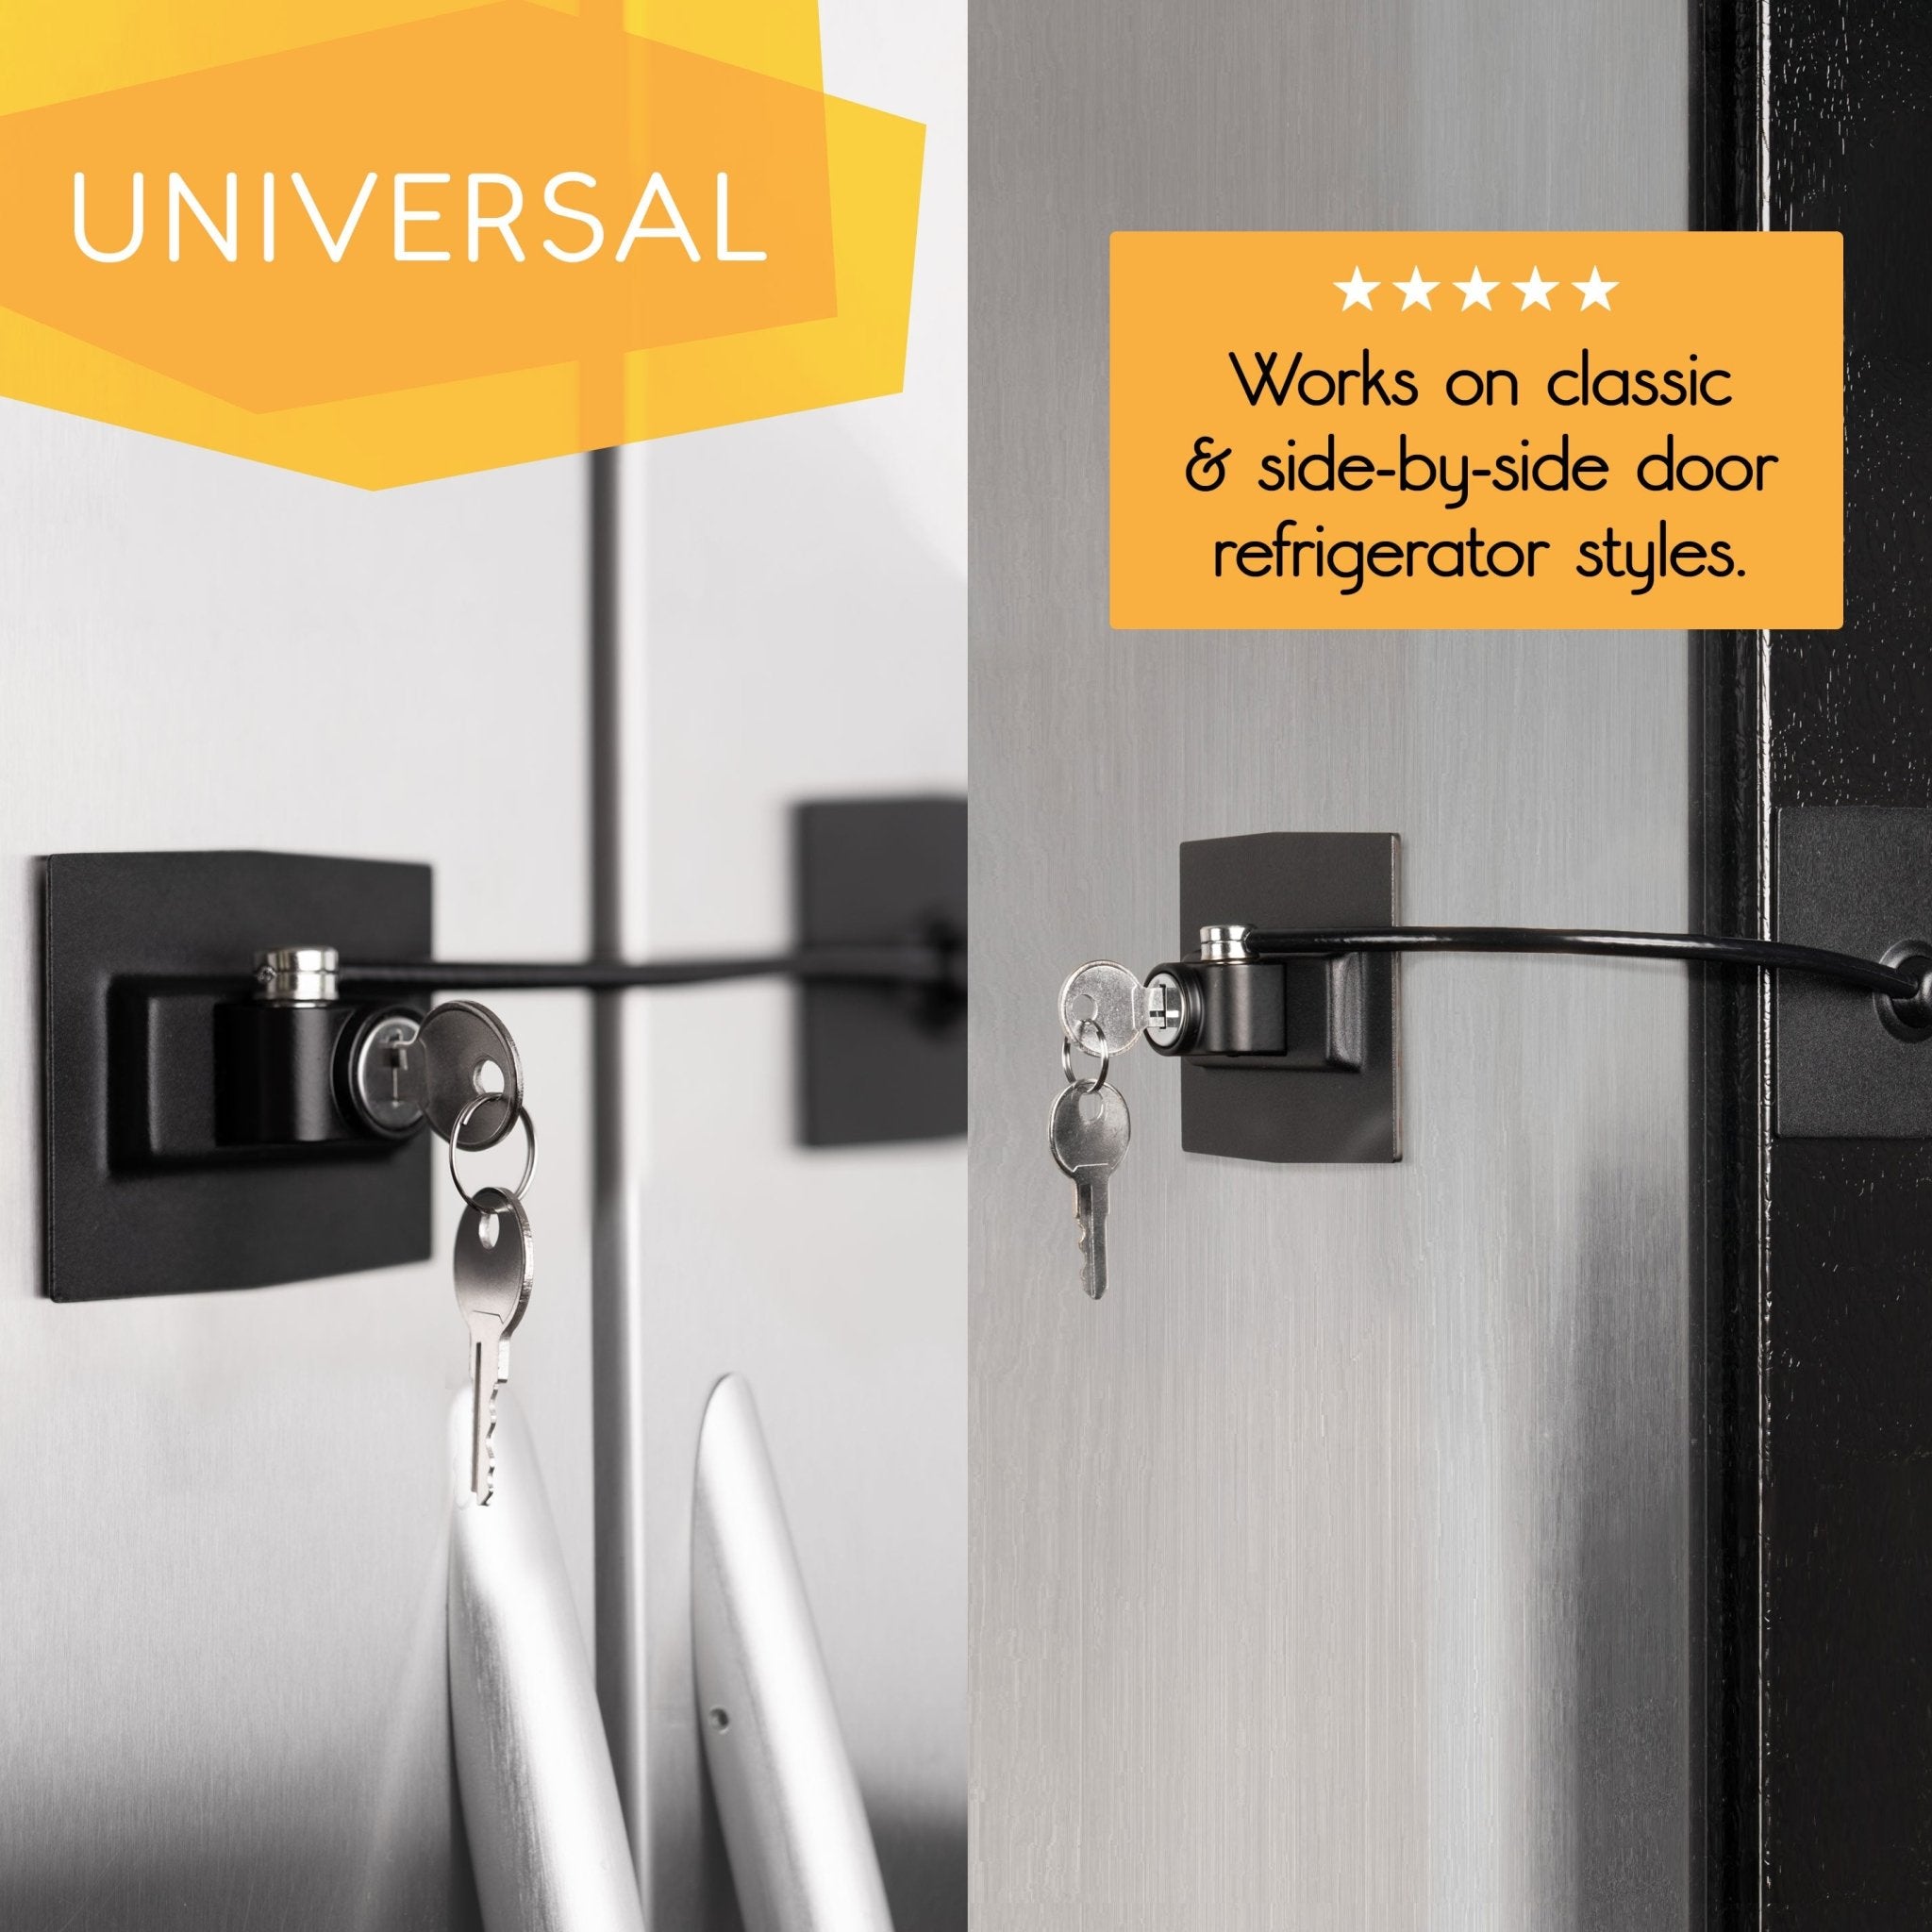
- This unit can be installed on the left of right, depending on how your refrigerator opens. The cable arm rotates to be able to lock in the top from either direction.
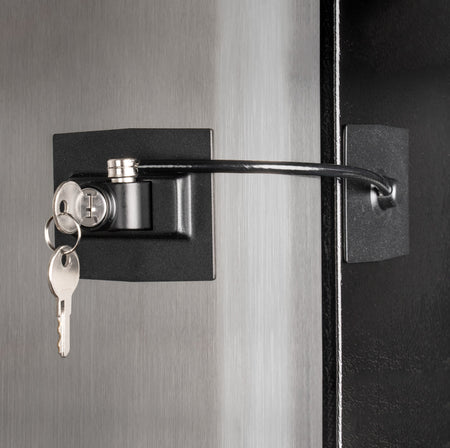
- The lock plate should be applied horizontally to the front of the refrigerator with the locking hole closest to the edge of the door. The cable plate should be applied to the side of the refrigerator, allowing the cable arm to swivel out of the way when unlocked.
- The cable plate can be applied vertically or horizontally, whichever is more aesthetically pleasing to you. The lock is easier to use if the cable fitting goes into the top of the lock. This also allows for one handed operation.
- Once you have decided where you want the plates, mark the location with a pencil. Unlock the lock before proceeding.
Note: When positioning the lock, do not obstruct air vents or screw heads.
Step 2. Remove the sticker backing from the plates.
- Do not touch the adhesive material. Apply the lock plate first. Carefully remove the adhesive backing and affix the plate onto the marked location. The strength of the bond is entirely related to how much pressure is initially applied.
It’s not about how long you apply the force, it’s about how much pressure is applied. So push as hard as you can! - Once the lock plate is adhered, carefully relock the unit before applying the cable plate so you are sure it is positioned correctly. Again, press as hard as you can!
Step 3. Allow plates to cure a full 24 hours.
- Once the plates are adhered, unlock the lock, let the cable dangle and remove the keys during the curing time. Do not put any tension on the plates during these 24 hours.
- Once cured, you are ready to go!